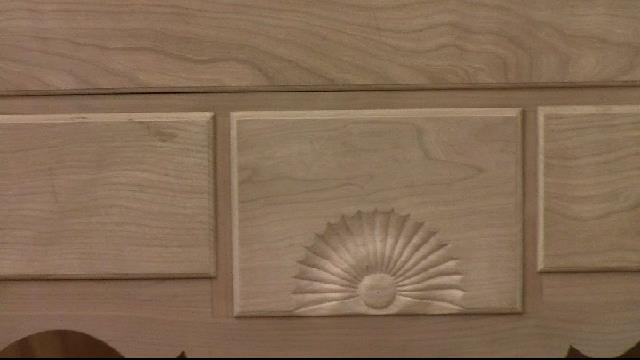
These are not overly challenging but need to be carved carefully. Because of the half circle the grain is changing all the time as you move around to circle.
I took pictures and measured the size of the shells on the original chest when I was at Yale Furniture Study.
BTW anyone can go to the Yale Furniture Study, all you need is an appointment. If you want to study period furniture it is the place to go. Contact me if you want information on how to set up an appointment.
Full disclosure, I carved a practise one first. I did a shell like this one 6 years ago but it is always good to do a warm up.
Using the information that I have I laid out the shell on the drawer front. I used a compass, dividers and circle template for the layout. I fastened the drawer front to a board using double back tape.
First step in carving was to hollow out the recesses. I used a 1 inch #5 gouge on the large recess.
Checking the depth with a cardboard template. It should be a consistent 1/4 inch deep all the way around.
The second recess is judged by the depth of the small circle for the knob, it should be about a 1/4 inch deep. Then I rounded over the mound.
I use the nail as a guide to retrace the lines for the rays.
I am using a v chisel to start the grooves between the rays. Trying to keep them very straight
Working back and forth to follow the grain on each side of the groove I am using #5 gouges of various sizes to round over and deepen the rays.
You have to be very careful when you get to the middle because the grain is straight across and will chip out very easily.
Finished carving all the rays and rounded over the center circle. If you chip out a small piece while carving you can use super glue to put the piece back in.
Cleaned up the bumps with a file and sand paper.
All done with the two shells. They look good on the chest.
Next step is to carve the cartouche.
Here is today's video:


No comments:
Post a Comment